
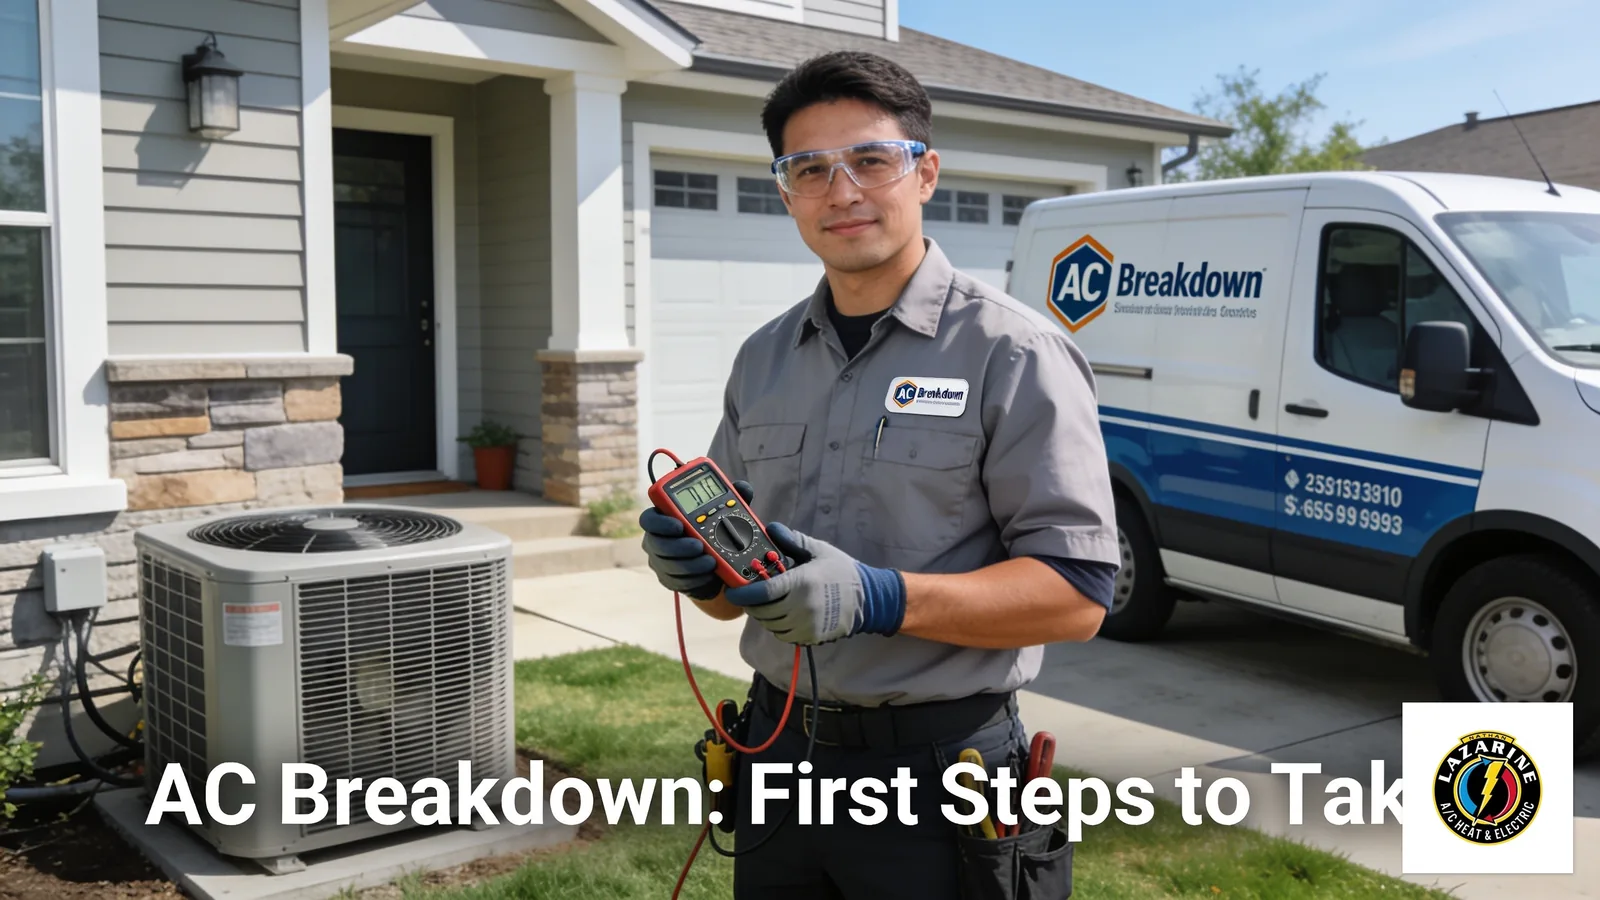
AC Breakdown: First Steps to Take
When your AC breaks down, we’ve found that checking a few basics first saves you time and avoids an unnecessary service call. We recommend starting with the thermostat settings, then inspecting the air filter for dirt and blockage, since a dirty filter ranks among the most common causes of AC failure. Next, confirm the outdoor condenser unit is clear of debris so airflow isn’t restricted. When these steps don’t restore cooling, our team at Nathan Lazarine A/C Heat & Electric recommends professional diagnosis to protect your system from further damage.
Key Takeaways
We recommend checking your thermostat settings and replacing the batteries first; this simple step often restores proper AC function immediately and saves you an unnecessary service call.
If a breaker has tripped, reset it right away, since this resolves many power interruptions on its own. Repeated tripping, however, signals a deeper issue that we should diagnose for you.
Inspect and replace a dirty air filter, the most common cause of AC cooling failures we encounter. A clogged filter forces the system to work harder and can eventually shut it down entirely.
Clear debris from the outdoor condenser unit to keep airflow moving freely. If problems persist after these checks, reach out to our team at Nathan Lazarine A/C Heat & Electric for prompt support.
We recommend checking your thermostat settings and replacing the batteries first; this simple step often restores proper AC function immediately and saves you an unnecessary service call.
If a breaker has tripped, reset it right away, since this resolves many power interruptions on its own. Repeated tripping, however, signals a deeper issue that we should diagnose for you.
Inspect and replace a dirty air filter, the most common cause of AC cooling failures we encounter. A clogged filter forces the system to work harder and can eventually shut it down entirely.
Clear debris from the outdoor condenser unit to keep airflow moving freely. If problems persist after these checks, reach out to our team at Nathan Lazarine A/C Heat & Electric for prompt support.
What Should You Do When AC Stops Working?
An AC breakdown demands immediate, methodical action, not panic. In our experience, the most common causes of a non-functioning air conditioner are a tripped circuit breaker, incorrect thermostat settings, and a clogged air filter, and checking these three components first resolves many problems without a service call.
AC failures rarely happen in mild weather; they strike on the hottest days of summer, when your system is working hardest and your household comfort is most at risk. That’s why we always encourage acting fast.
What Are the First Steps for AC Troubleshooting?
Before contacting our team, we recommend working through these steps in order:
Check the thermostat. Confirm the system is set to “cool” and the target temperature is below the current room temperature, and replace the batteries if the display is dim or unresponsive. This single check resolves a surprising number of the no-cooling calls we receive.
Inspect the circuit breaker. Locate your electrical panel and look for any tripped breakers, then reset one by switching it fully off and back on. If it trips again right away, treat it as an electrical issue rather than a simple reset.
Examine the air filter. A clogged filter blocks airflow and forces the system to overwork, so remove it and replace it if it looks gray or visibly blocked. Fresh airflow is one of the fastest ways to restore steady cooling.
Clear the outdoor unit. Remove any debris — leaves, dirt, or overgrowth — from around the condenser to restore proper airflow. Keeping a clear space around the unit helps it breathe properly.
Call our team if the problem persists. Some issues, such as refrigerant leaks or electrical faults, require expert diagnosis, and we’re ready to help when basic checks don’t solve it.
Check the thermostat. Confirm the system is set to “cool” and the target temperature is below the current room temperature, and replace the batteries if the display is dim or unresponsive. This single check resolves a surprising number of the no-cooling calls we receive.
Inspect the circuit breaker. Locate your electrical panel and look for any tripped breakers, then reset one by switching it fully off and back on. If it trips again right away, treat it as an electrical issue rather than a simple reset.
Examine the air filter. A clogged filter blocks airflow and forces the system to overwork, so remove it and replace it if it looks gray or visibly blocked. Fresh airflow is one of the fastest ways to restore steady cooling.
Clear the outdoor unit. Remove any debris — leaves, dirt, or overgrowth — from around the condenser to restore proper airflow. Keeping a clear space around the unit helps it breathe properly.
Call our team if the problem persists. Some issues, such as refrigerant leaks or electrical faults, require expert diagnosis, and we’re ready to help when basic checks don’t solve it.
When Does an AC Problem Require Emergency Service?
Some situations go beyond basic AC troubleshooting. If the system still produces no cooling after completing every step above, the underlying fault likely involves components that need our professional attention. We provide residential and commercial air conditioning services throughout Missouri City, TX, and we prioritize your comfort in every visit.
What Tools and Prerequisites Do You Need First?
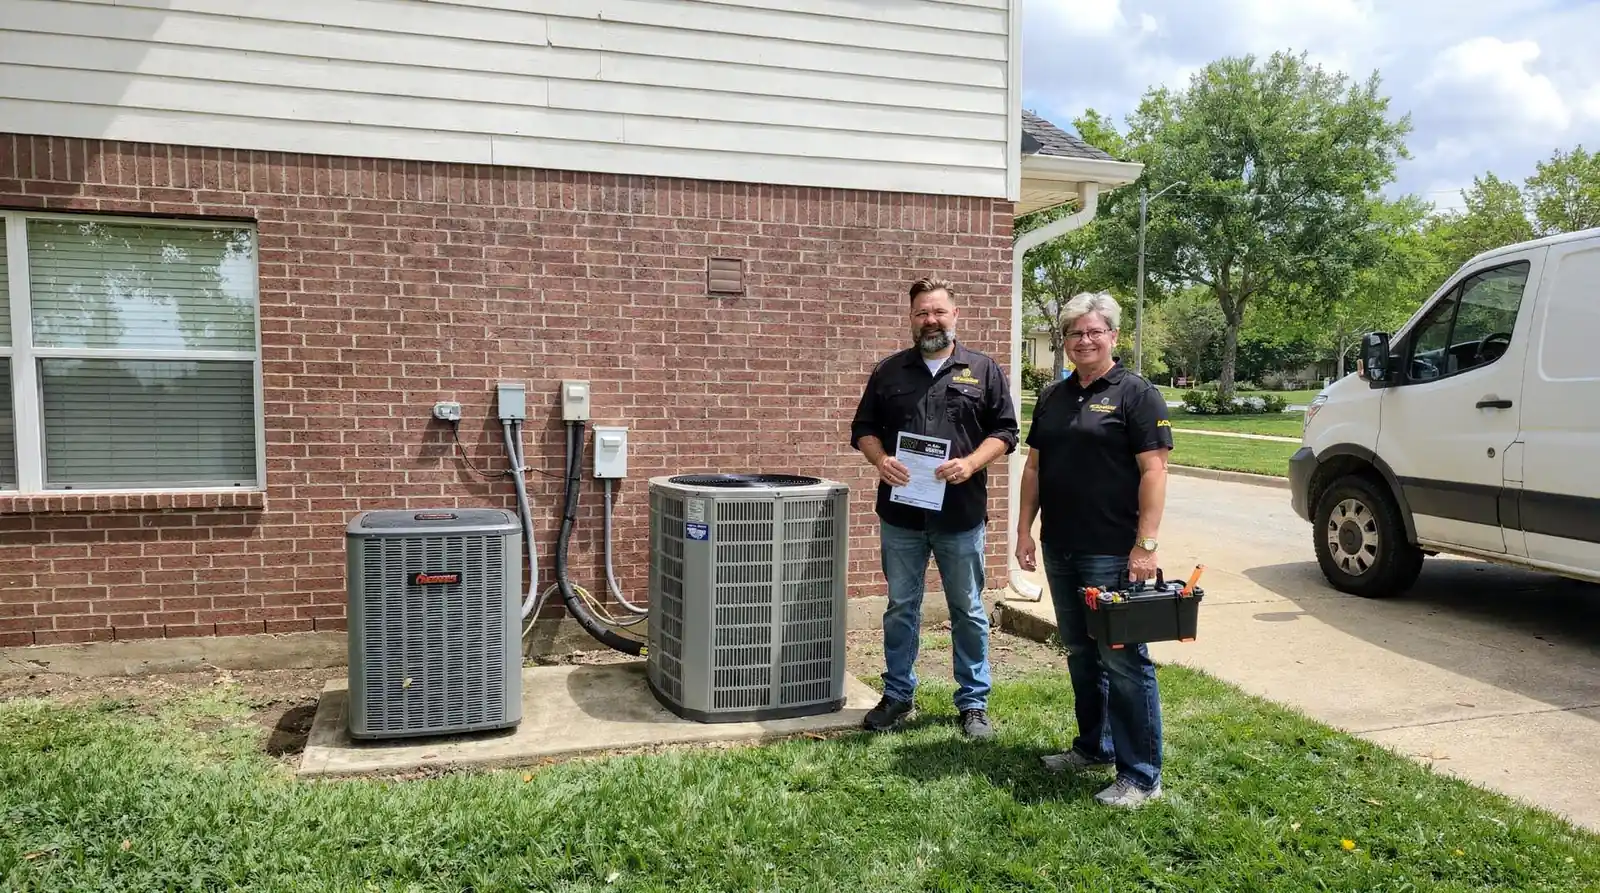
We’ve found that effective AC troubleshooting starts before touching a single component. Gathering the right access points and basic information first prevents wasted effort and keeps the diagnostic process safe for you and your family.
Before beginning, confirm access to these four key areas:
Thermostat — Check the settings and replace batteries if the display is dim or unresponsive. A weak battery is one of the simplest, most overlooked causes of a no-cool call.
Breaker panel — Locate the circuit breaker tied to the AC system and inspect it for a tripped position. Knowing where this breaker sits before an emergency saves valuable time.
Air filter — Find the filter housing and pull the filter to check for heavy dust buildup or blockage. A quick visual check tells you immediately whether a replacement is needed.
Outdoor condenser unit — Walk the perimeter and clear any debris, vegetation, or obstructions from around the unit. Good airflow here keeps the whole system running efficiently.
Thermostat — Check the settings and replace batteries if the display is dim or unresponsive. A weak battery is one of the simplest, most overlooked causes of a no-cool call.
Breaker panel — Locate the circuit breaker tied to the AC system and inspect it for a tripped position. Knowing where this breaker sits before an emergency saves valuable time.
Air filter — Find the filter housing and pull the filter to check for heavy dust buildup or blockage. A quick visual check tells you immediately whether a replacement is needed.
Outdoor condenser unit — Walk the perimeter and clear any debris, vegetation, or obstructions from around the unit. Good airflow here keeps the whole system running efficiently.
No special equipment is required for these steps, though we recommend keeping a flashlight and a spare air filter on hand to make the process faster.
When Is DIY Troubleshooting Enough?
Some AC issues respond well to simple maintenance we can walk you through yourself. A clogged filter swap or a reset breaker can restore cooling without a service call. However, problems like refrigerant leaks or frozen evaporator coils require our professional diagnosis and should never be attempted without the proper training and equipment.
Which Areas Does Nathan Lazarine A/C Heat & Electric Serve?
We provide emergency AC and diagnostic services to homeowners and commercial property owners throughout Missouri City, TX. Recognizing an AC breakdown early and knowing when to call us protects both your comfort and your system’s long-term reliability, and we’re proud to serve our neighbors here with the same level of care every time.
How Do You Check the Thermostat and Power Supply?
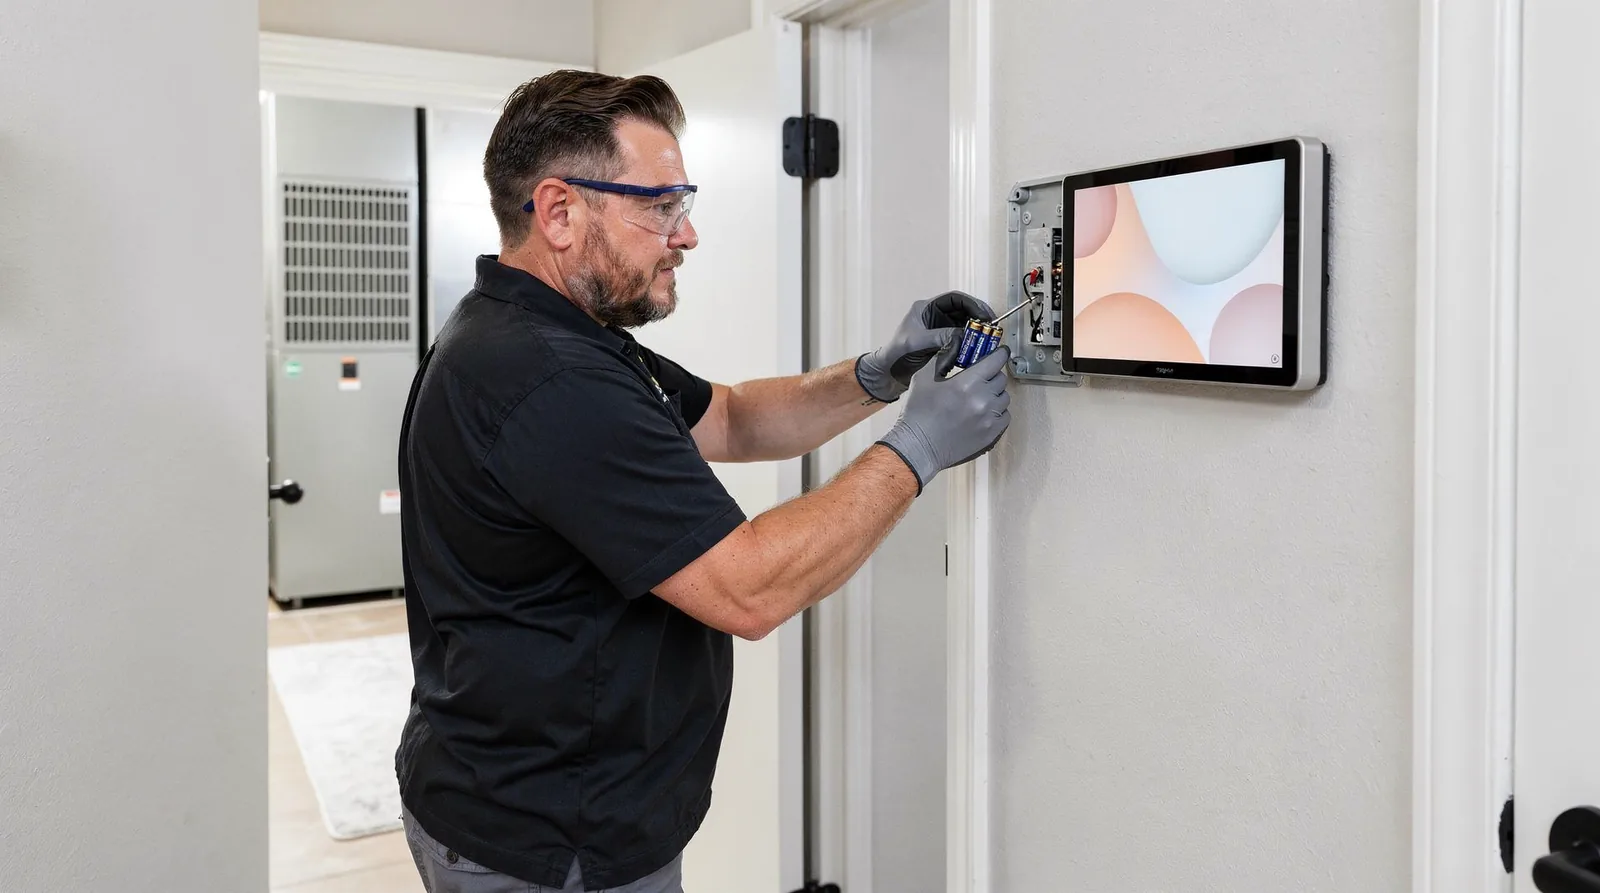
In our experience, incorrect thermostat settings rank among the most common causes of an AC breakdown, and a tripped circuit breaker is equally responsible for shutting down cooling without warning. Addressing these two components first resolves a large share of the emergency AC calls we receive, often before a service visit is ever needed.
Before you start, locate your thermostat and your home’s electrical panel, since both need to be accessible to complete the steps below.
Set the thermostat to “Cool” mode. Confirm the mode is not set to “Heat” or “Fan Only,” since either setting will stop the system from cooling your home.
Lower the set temperature. Drop the target temperature several degrees below the current room temperature to trigger the cooling cycle and confirm the system responds.
Check the thermostat batteries. Weak or dead batteries cause the thermostat to lose its settings or fail to send signals to the unit entirely, so replace them if the display is dim or unresponsive.
Go to the electrical panel. Locate the breaker labeled for the air conditioner or air handler before attempting any reset.
Reset a tripped breaker. A tripped breaker sits between the “On” and “Off” positions, so push it fully to “Off” and then firmly back to “On.”
Wait three to five minutes. Allow the system to restart fully before checking whether cool air is flowing again.
Set the thermostat to “Cool” mode. Confirm the mode is not set to “Heat” or “Fan Only,” since either setting will stop the system from cooling your home.
Lower the set temperature. Drop the target temperature several degrees below the current room temperature to trigger the cooling cycle and confirm the system responds.
Check the thermostat batteries. Weak or dead batteries cause the thermostat to lose its settings or fail to send signals to the unit entirely, so replace them if the display is dim or unresponsive.
Go to the electrical panel. Locate the breaker labeled for the air conditioner or air handler before attempting any reset.
Reset a tripped breaker. A tripped breaker sits between the “On” and “Off” positions, so push it fully to “Off” and then firmly back to “On.”
Wait three to five minutes. Allow the system to restart fully before checking whether cool air is flowing again.
What Happens If the Breaker Keeps Tripping?
A breaker that trips repeatedly signals an underlying electrical issue, not a simple reset problem, and continuing to reset it without diagnosis risks damage to the system and creates a safety hazard. We provide thermostat and electrical services as part of our full heating and air conditioning offering, and our team identifies the root cause quickly so you’re not left guessing.
When Should You Call a Professional for AC Troubleshooting?
AC troubleshooting steps like resetting a breaker or replacing batteries are safe for most homeowners to try. If the system still fails to cool after completing every step above, the problem likely lies deeper, in refrigerant levels, electrical wiring, or internal components that require our professional diagnosis, and we’re ready to help.
How Do You Inspect the Circuit Breaker and Electrical Panel?
A tripped circuit breaker ranks among the most common causes of an AC breakdown we diagnose. Inspecting the electrical panel is the first step we recommend before calling for service, since checking the breaker, thermostat, and air filter together often restores cooling without a single visit.
Before starting, locate your home’s main electrical panel, typically mounted on an interior wall, in a garage, or in a utility room, and make sure the area around it is dry and clear of obstructions.
Inspection steps, in order:
Open the electrical panel door and scan each breaker for position. Take note of any breaker that looks different from the rest, since that’s often the one causing trouble.
Identify the breaker labeled for the air conditioner or air handler. Most panels label this clearly, though older homes may require checking a wiring diagram.
Look for a breaker that has shifted to the middle or “off” position, since that indicates a trip. This is the clearest visual sign that the breaker cut power to the system.
Push the tripped breaker firmly to the full “off” position first, then flip it back to “on.” This full reset clears the trip more reliably than a partial nudge.
Return to the thermostat and confirm the system responds within a few minutes. Cool air returning is the sign that the reset worked.
If the breaker trips again immediately, stop and contact us for a qualified electrical inspection. Repeated tripping means the issue is electrical, not mechanical.
Open the electrical panel door and scan each breaker for position. Take note of any breaker that looks different from the rest, since that’s often the one causing trouble.
Identify the breaker labeled for the air conditioner or air handler. Most panels label this clearly, though older homes may require checking a wiring diagram.
Look for a breaker that has shifted to the middle or “off” position, since that indicates a trip. This is the clearest visual sign that the breaker cut power to the system.
Push the tripped breaker firmly to the full “off” position first, then flip it back to “on.” This full reset clears the trip more reliably than a partial nudge.
Return to the thermostat and confirm the system responds within a few minutes. Cool air returning is the sign that the reset worked.
If the breaker trips again immediately, stop and contact us for a qualified electrical inspection. Repeated tripping means the issue is electrical, not mechanical.
Why Does the AC Breaker Keep Tripping?
A breaker that trips repeatedly signals a deeper electrical issue, not a simple reset problem, and we see causes ranging from a short circuit inside the unit to an overloaded circuit that can’t handle the system’s demand. Continuing to reset a repeatedly tripping breaker risks equipment damage and creates a real safety hazard for your home.
When Should You Call a Professional for Emergency AC and Electrical Issues?
AC troubleshooting steps like resetting a breaker are safe starting points, but persistent tripping, burning smells, or visible scorch marks around the panel require our professional attention immediately. We handle electrical repair, maintenance, and service for both residential and commercial properties, and we handle exactly these situations so your system is restored safely and reliably.
How Do You Check and Replace a Dirty Air Filter?
A clogged air filter ranks among the most common causes of an AC breakdown we see, and addressing it is one of the first steps in any AC troubleshooting checklist. Checking the filter takes only a few minutes, yet skipping this step leaves a system starved of airflow and unable to cool effectively.
Before starting, locate your air handler or furnace cabinet. Most filters sit in a slot on the side or bottom of the unit, or behind a return-air grille on the wall or ceiling, so take a moment to find yours first.
Steps to check and replace your air filter:
Turn the system off at the thermostat before opening any panels. This protects both you and the equipment while you work.
Slide the existing filter out carefully to avoid shaking loose debris into the duct. Hold it away from the return opening as you pull it free.
Hold the filter up to a light source. A filter so clogged that little or no light passes through needs immediate replacement.
Note the size printed on the filter’s cardboard frame before purchasing a replacement. Matching the exact size keeps the seal tight and prevents unfiltered air from bypassing it.
Insert the new filter with the airflow arrow pointing toward the air handler, not away from it. An arrow pointed the wrong direction reduces the filter’s effectiveness.
Restore power at the thermostat and confirm the system resumes normal operation. Cool air returning within a few minutes confirms the filter was the issue.
Turn the system off at the thermostat before opening any panels. This protects both you and the equipment while you work.
Slide the existing filter out carefully to avoid shaking loose debris into the duct. Hold it away from the return opening as you pull it free.
Hold the filter up to a light source. A filter so clogged that little or no light passes through needs immediate replacement.
Note the size printed on the filter’s cardboard frame before purchasing a replacement. Matching the exact size keeps the seal tight and prevents unfiltered air from bypassing it.
Insert the new filter with the airflow arrow pointing toward the air handler, not away from it. An arrow pointed the wrong direction reduces the filter’s effectiveness.
Restore power at the thermostat and confirm the system resumes normal operation. Cool air returning within a few minutes confirms the filter was the issue.
How Often Should an Air Filter Be Replaced?
We find that filter replacement intervals depend on the filter type, household size, and whether pets are present. A visibly gray or compacted filter should be swapped out immediately, regardless of how recently it was last replaced.
Can a Dirty Filter Cause the AC to Stop Turning On Entirely?
A severely restricted filter reduces airflow to the point where the system overheats and shuts itself down as a protective measure. This is why we always check the filter for clogs early when an emergency AC situation arises and the unit refuses to start.
Our air conditioning maintenance services keep systems running efficiently, so small issues like a clogged filter rarely escalate into a bigger failure. Reach out to us when a filter swap alone doesn’t restore cooling.
How Do You Inspect the Outdoor Condenser Unit?
A blocked outdoor condenser unit ranks among the most common causes of an AC breakdown we’re called out for, and clearing debris from the unit is one of the first steps in any AC troubleshooting checklist. The condenser works as part of an interconnected system, so when one component fails, the entire cooling cycle suffers.
Before starting, power down the system at the thermostat and at the disconnect box near the outdoor unit, and never work on a live unit.
Steps to inspect the outdoor condenser unit:
Clear the surrounding area. Remove leaves, grass clippings, and any debris within at least two feet of the unit on all sides. This clearance lets the unit breathe and release heat properly.
Check the condenser fins. Look for bent or crushed fins on the outer casing, since restricted airflow through the fins reduces cooling capacity significantly.
Inspect for visible blockages. Confirm no vegetation, fencing, or stored items are pressing against the unit. Anything touching the cabinet can restrict airflow even if it looks harmless.
Look at the top of the unit. Verify the fan grille is unobstructed and the fan blade shows no visible damage, since a damaged blade can throw the whole unit off balance.
Restore power and observe. Turn the system back on and listen for normal operation, meaning steady fan rotation and no grinding or rattling sounds.
Clear the surrounding area. Remove leaves, grass clippings, and any debris within at least two feet of the unit on all sides. This clearance lets the unit breathe and release heat properly.
Check the condenser fins. Look for bent or crushed fins on the outer casing, since restricted airflow through the fins reduces cooling capacity significantly.
Inspect for visible blockages. Confirm no vegetation, fencing, or stored items are pressing against the unit. Anything touching the cabinet can restrict airflow even if it looks harmless.
Look at the top of the unit. Verify the fan grille is unobstructed and the fan blade shows no visible damage, since a damaged blade can throw the whole unit off balance.
Restore power and observe. Turn the system back on and listen for normal operation, meaning steady fan rotation and no grinding or rattling sounds.
Why Does a Blocked Condenser Cause the AC to Stop Blowing Cold Air?
The condenser releases heat absorbed from inside your home, and when debris blocks airflow around the unit, that heat can’t escape efficiently. The system then loses its ability to deliver cold air, and we find that an emergency AC call often traces back to this single, preventable issue.
What Happens If Only One Part of the AC System Fails?
An air conditioning system relies on every component working in coordination, and a problem with the outdoor condenser affects refrigerant pressure, compressor load, and indoor airflow together. This means one blocked unit can cascade into whole-home comfort loss, so we recommend scheduling a professional inspection whenever a condenser issue is suspected, to confirm no secondary damage has occurred.
When Do Refrigerant Leaks or Frozen Coils Require Professionals?
Refrigerant leaks and frozen evaporator coils require our professional diagnosis, not a DIY repair, and these are conditions that basic troubleshooting simply can’t fix. AC troubleshooting steps like checking filters or resetting breakers cannot safely address these conditions, and attempting to handle them without proper equipment risks further damage to the system.
Some AC problems are straightforward, others are not. When basic checks fail to restore cooling, the underlying cause is often one of two serious issues:
Refrigerant leaks — Low refrigerant reduces cooling capacity and signals a breach in the sealed system. Handling refrigerant requires specialized tools and licensing, and improper handling causes environmental harm and voids equipment warranties.
Frozen evaporator coils — Ice buildup on the coil blocks airflow entirely, and the root cause ranges from restricted airflow to refrigerant loss. Identifying which one is at fault requires the diagnostic equipment we bring to every visit.
Refrigerant leaks — Low refrigerant reduces cooling capacity and signals a breach in the sealed system. Handling refrigerant requires specialized tools and licensing, and improper handling causes environmental harm and voids equipment warranties.
Frozen evaporator coils — Ice buildup on the coil blocks airflow entirely, and the root cause ranges from restricted airflow to refrigerant loss. Identifying which one is at fault requires the diagnostic equipment we bring to every visit.
Neither condition resolves on its own, and ignoring either one accelerates wear on the compressor, one of the most critical components in the system.
What Happens If You Keep Running an AC With a Refrigerant Leak?
Continuing to operate a system with a refrigerant leak forces the compressor to work harder under low-pressure conditions, and this shortens its life significantly. We often see an AC breakdown that started as a small leak escalate into a full system failure once it’s left unaddressed.
How Do We Handle Emergency AC Situations?
We provide expert air conditioning repair for both residential and commercial properties, and our team responds quickly to urgent HVAC situations. We offer emergency AC repair services because comfort failures rarely happen at a convenient time. When basic AC troubleshooting steps, like checking the thermostat, inspecting the filter, or clearing debris from the outdoor unit, don’t resolve the problem, contacting our team is the right next step.
Don’t delay. A frozen coil or active refrigerant leak left unattended can turn a manageable repair into a full system replacement. We’re ready to diagnose the issue and restore reliable cooling fast.
What Common Mistakes Should You Avoid During AC Troubleshooting?
AC troubleshooting errors fall into two clear categories: skipping simple checks that homeowners can handle themselves, and attempting complex repairs that require our professional expertise. Both mistakes cost time and comfort, especially when an AC breakdown strikes during peak summer heat.
Should You Check the Basics Before Calling for Service?
Skipping foundational checks is the most common, and most avoidable, mistake we see. Verifying the thermostat settings, inspecting the circuit breaker, and examining the air filter can restore cooling without a single service visit. These three steps take only minutes, and overlooking them often means scheduling a repair call that was never necessary.
Follow these checks in order before reaching out for our professional service:
Confirm thermostat settings. Ensure the system is set to “cool” and the target temperature is below the current room temperature. This one check resolves more no-cool calls than any other step.
Inspect the circuit breaker. Locate the breaker panel and reset any tripped breaker connected to the AC unit. A quick reset restores power without any need for a service visit.
Check the air filter. Remove the filter and hold it to light, since a clogged filter blocks airflow and forces the system to overwork. Replacing it is one of the simplest fixes available to you.
Clear the outdoor unit. Remove any debris, leaves, or obstructions from around the condenser. Good clearance around the unit keeps the whole system breathing properly.
Confirm thermostat settings. Ensure the system is set to “cool” and the target temperature is below the current room temperature. This one check resolves more no-cool calls than any other step.
Inspect the circuit breaker. Locate the breaker panel and reset any tripped breaker connected to the AC unit. A quick reset restores power without any need for a service visit.
Check the air filter. Remove the filter and hold it to light, since a clogged filter blocks airflow and forces the system to overwork. Replacing it is one of the simplest fixes available to you.
Clear the outdoor unit. Remove any debris, leaves, or obstructions from around the condenser. Good clearance around the unit keeps the whole system breathing properly.
When Does DIY Troubleshooting Become Dangerous?
Attempting repairs beyond basic maintenance, particularly refrigerant leaks or frozen evaporator coils, is where we see homeowners cause the most damage. These issues require our professional diagnosis, since handling refrigerant without proper equipment worsens the leak, risks personal injury, and can void equipment warranties.
We provide comprehensive HVAC services across Missouri City, TX, and we deliver heating installation, repair, maintenance, and service built on genuine value and experience. When an emergency AC situation moves beyond the basics, contact us, since stopping a small problem early prevents a far more serious failure later.
FAQ
What is the most common cause of AC cooling failure?
In our experience, a clogged air filter ranks as the most common cause, since it blocks airflow and forces the system to overwork until cooling stops entirely.
What do you check first when the AC won’t turn on?
We recommend confirming the thermostat is set to “cool” with the target temperature below the current room temperature, then replacing the batteries if the display is dim or unresponsive.
Who do you call when basic troubleshooting does not fix the AC?
We serve residential and commercial customers throughout Missouri City, TX, and we respond to emergency AC situations that require expert diagnosis.
Ready to Restore Your Cooling?
We know how uncomfortable an AC breakdown can be, especially during the hottest days of the year. If you’ve worked through these basic checks and your system still isn’t cooling properly, our team at Nathan Lazarine A/C Heat & Electric is ready to diagnose the issue and get your home comfortable again. Reach out to us for prompt, professional service throughout Missouri City, TX.